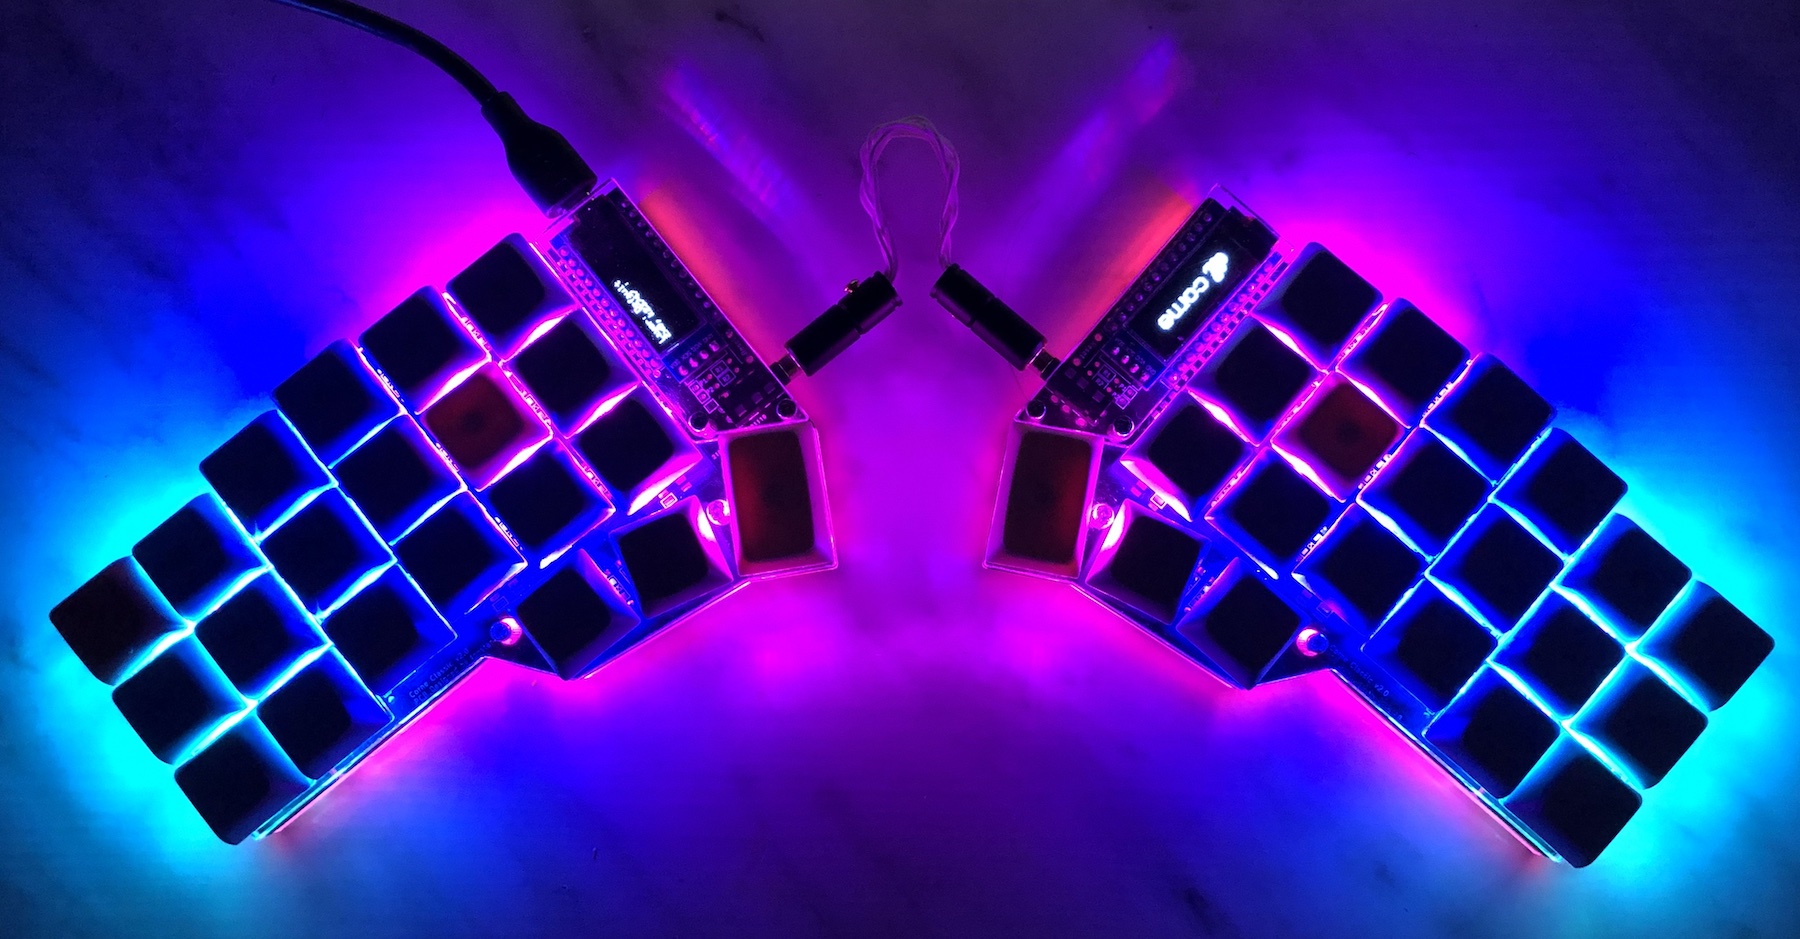
Corne Custom Keyboard
Crkbd (aka. Helidox or Corne) is originally designed by @foostan. @foostan has kindly open-sourced the PCB and case design. The gerber and CAD files are available on Github. A default firmware configuration is also open-sourced on QMK.
Wait… for anyone new into this space, this is a lot of information.
What is QMK
QMK is a keyboard firmware based on the tmk_keyboard firmware with some useful features for Atmel AVR and ARM controllers. Very often people deploy QMK firmware on Ardurino Pro Micro controllers. There are many well-known custom keyboards are built on top of QMK, for example, Planck, Ergodox EZ, ClueBoard.
Corne
Just like open-source software, open-source hardware designs are also popular in the custom keyboard market. Corne is one of those custom-designed keyboards developed by the community.
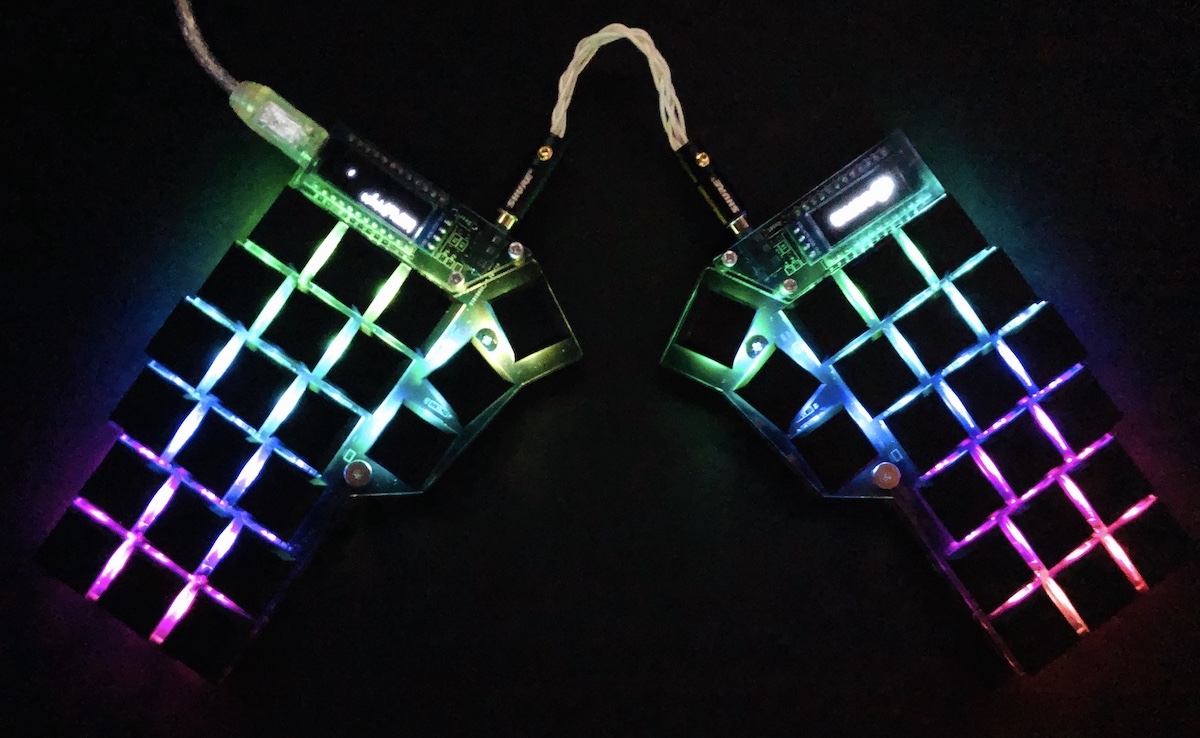
Corne keyboard is a split keyboard with 3x6 column staggered keys and 3 thumb keys, based on Helix. Crkbd stands for Corne Keyboard.
Apart from its ergonomic feature, 40% (40 keys) keyboard is portable for travel and extremely customizable based on the QMK firmware features.
The Challenges
Sourcing the PCBs and casing can be a challenge from the UK. Besides, I have specific preferences on how to build this low profile keyboard with a transparent dark casing, limited budget. I had to source varies custom parts from many places, overall around 2-3 months lead time before I started the build:
| Part | Source | Lead time |
|---|---|---|
| Main PCB board | mechboards.co.uk | 4 weeks |
| Cut Sandwich dark case | Alibaba | 5 - 6 weeks |
| Low-profile Switch | Alibaba | 3 weeks |
| Low-profile Keycaps | Alibaba | 3 weeks |
| Flat head screws | Ebay | 3 - 4 days |
| Cheap Pro-Micro | Ebay | 3 - 4 days |
| Mill-Max Socket | Digikey | 1 week |
| Additional LEDs | Alibaba | 3 week |
There was some poor planning on sourcing items. I didn’t know what exactly is required for putting pieces together, there was a lot of waiting and re-ordering parts. For example, the custom-cut sandwich dark-transparent casing had longer lead time because the manufacturer sent the wrong cut for the first batch.
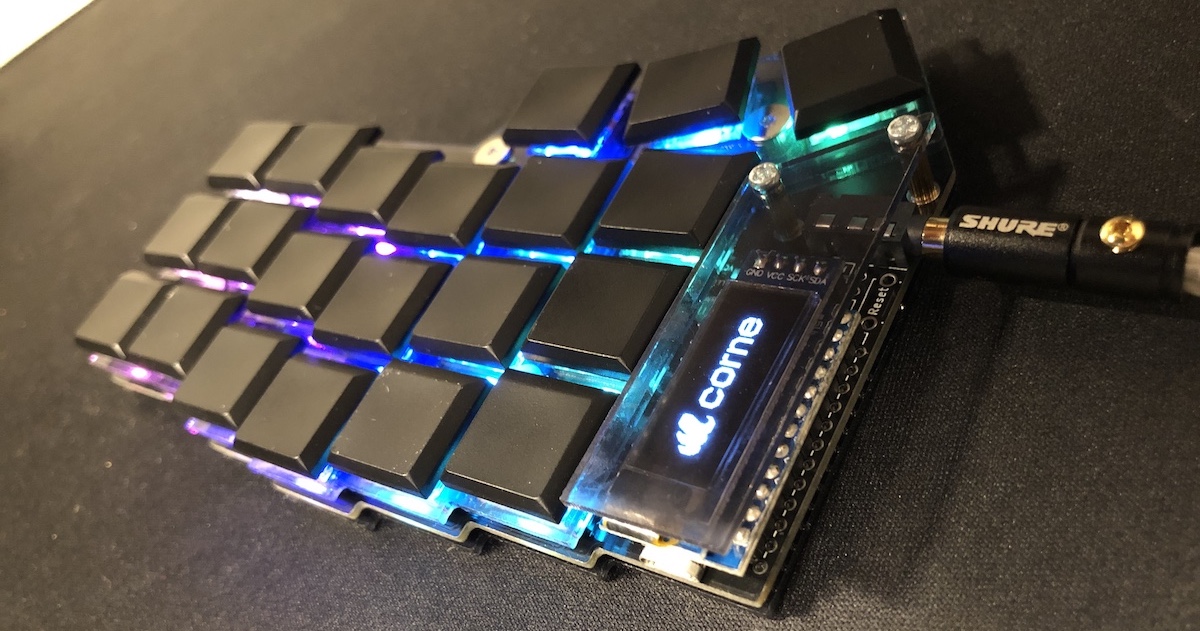
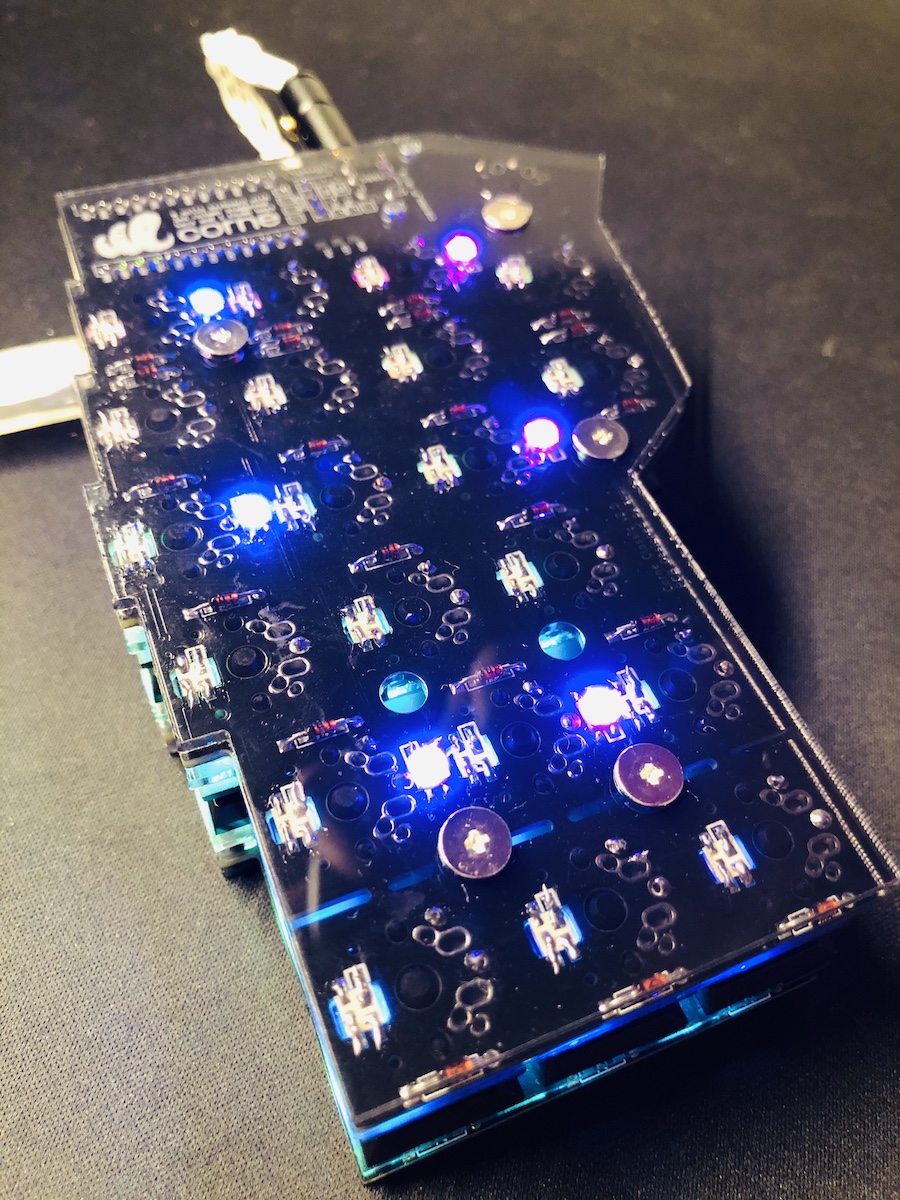
Soldering the LED can be challenging. With the first 20 soldering, I burnt 10 LEDs. But once I found a technique, soldering 40 with 160 joints was completed in less than an hour.
Custom Keymap
There are only 42 keys available on Corne, how is this even usable? Interestingly, if we look at the standard mobile touch screen keyboard they have a limited set of keys.
Similar to the mobile keyboard layout, QMK offers many features to create layers. Even more, one single key can sometimes create multiple types of inputs via tap v.s. press down the key register.

In QMK, const uint16_t PROGMEM keymaps[][MATRIX_ROWS][MATRIX_COLS] holds multiple layers of keymap information in 16-bit data holding the action code. You can define 32 layers at most.
Keymap: 32 Layers                 Layer: action code matrix
-----------------                 ---------------------
stack of layers                   array_of_action_code[row][column]
       ____________ precedence             _______________________
      /           / | high                / ESC / F1  / F2  / F3   ....
  31 /___________// |                    /-----/-----/-----/-----
  30 /___________// |                   / TAB /  Q  /  W  /  E   ....
  29 /___________/  |                  /-----/-----/-----/-----
   :   _:_:_:_:_:__ |             :   /LCtrl/  A  /  S  /  D   ....
   :  / : : : : : / |             :  /  :     :     :     :
   2 /___________// |             2 `--------------------------
   1 /___________// |             1 `--------------------------
   0 /___________/  V low         0 `--------------------------
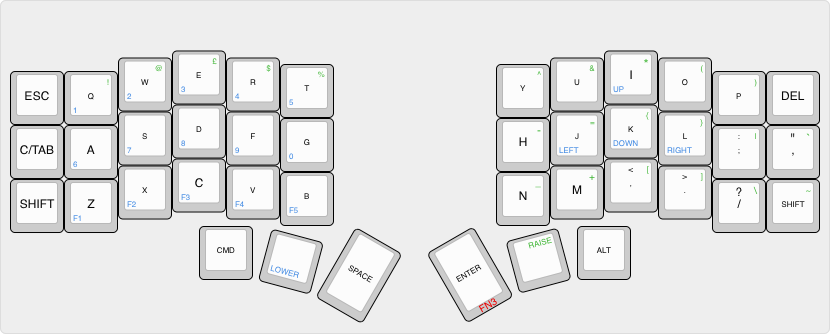
This is an illustration of my custom layer and its available on Github repository github.com/j1n6/qmk-keymap-custom-crkbd.
Automating QMK firmware building with Github Actions
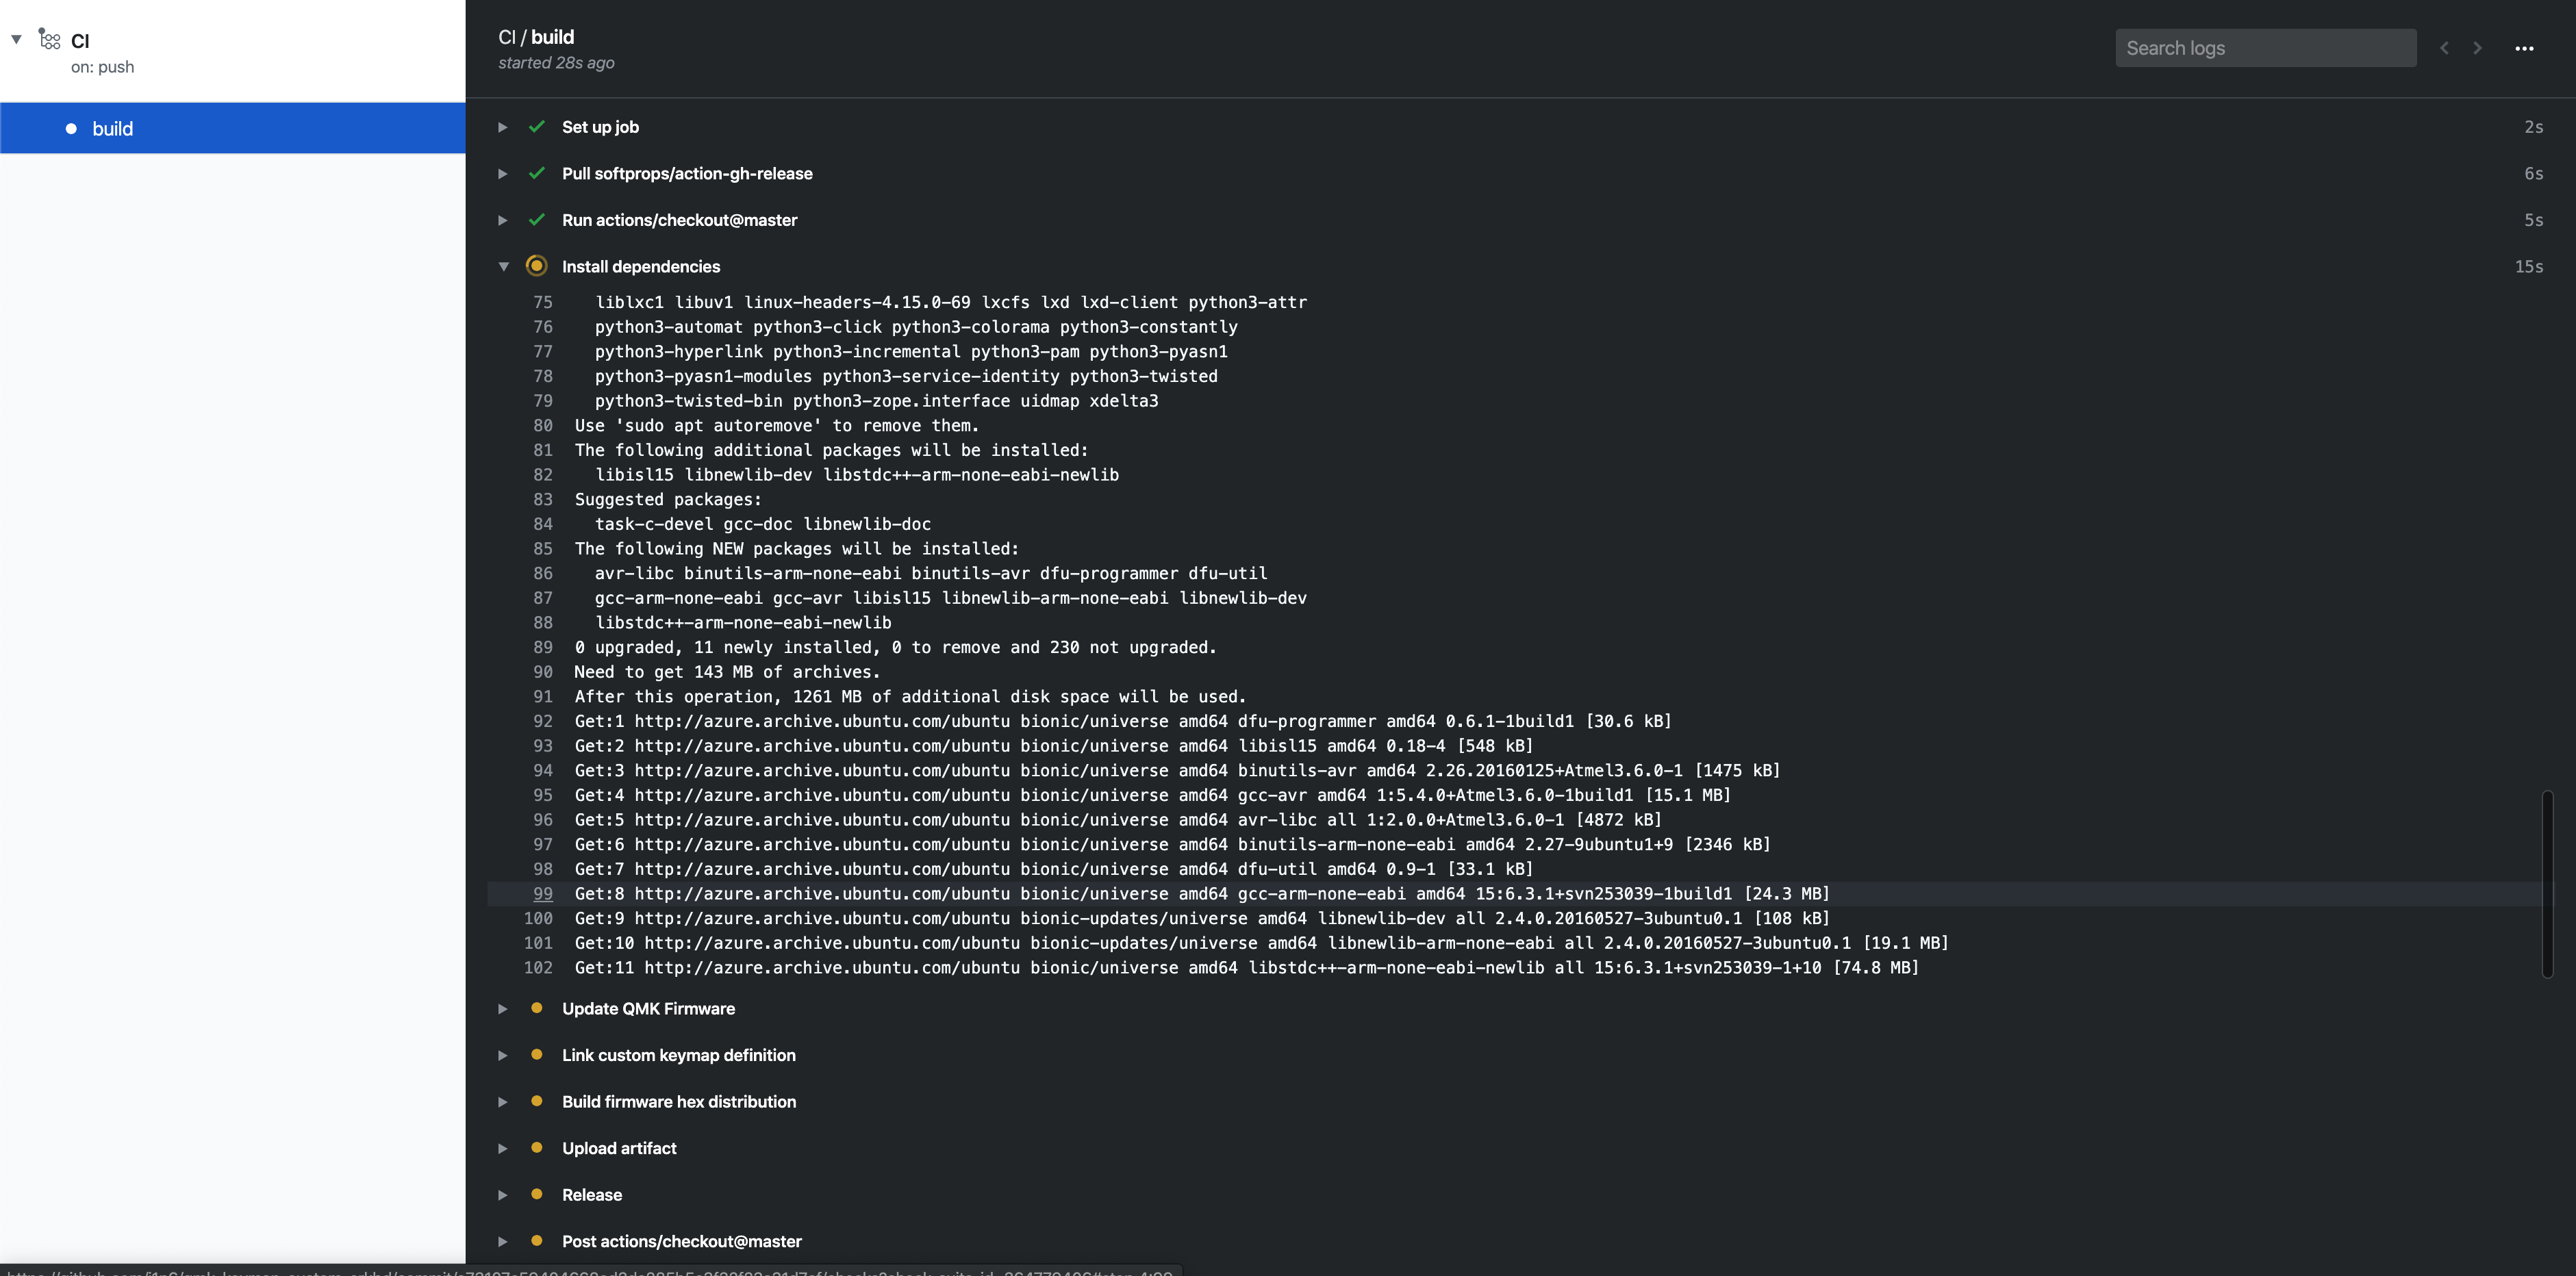
Building the firmware requires installing many dependencies to create the environment. If the desktop or laptop environment is not available, it would be nice to build a firmware .hex file as releases somehow remotely. Then, re-upload the firmware using QMK Tool in any environment would remove the need for installing unnecessary dependencies.
I created a Github Actions flow to configure the host environment, build the firmware and release it on Github releases page. This is the workflow configuration located under .github/workflows/main.yml
Screenshots of the release artifacts
