Ratta Supernote DIY Folio
The Ratta Supernote is an e-ink tablet designed for tasks like note-taking, reading, and document annotation. Its standout feature is its paper-like screen, which delivers a natural handwriting experience, complemented by a responsive stylus for precise input. While it supports common functions like PDFs and eBooks, what makes the Supernote unique isn’t just its features—it’s the minimalist interface and focus on functionality that set it apart. This simplicity creates a distraction-free workflow that many users appreciate.
Another interesting aspect of the Supernote is its design philosophy, which emphasizes DIY customization and reparability. While I won’t dive deeply into this here, in this post, I’ll share the story behind creating my own DIY folio for the Supernote A6X2 Nomad.
Motivation
Before starting this project, I defined a few key objectives to ensure it would offer more value than simply purchasing the pre-made “Vegan Folio.” These were my main goals:
-
Testing Supernote’s DIY Philosophy
Supernote is known for its emphasis on repairability and encouraging DIY experimentation. I wanted to put this philosophy to the test by designing and creating one of the key components—a personalized smart folio. -
Creating a Personalized and Upgradable Design
I aimed to build something tailored to my needs, with the flexibility to reconstruct or improve the folio over time based on my daily usage experiences. -
Improving Durability
The official folio, while functional, feels too thin for my liking. I wanted a more rigid design that could better protect the screen from potential damage. -
Elastic Band for Security
While Supernote’s folios include a sleep/wake magnet feature, the magnet isn’t strong enough to fully secure the cover. This design choice avoids interference with the e-ink screen, but I prefer the added security of an elastic band to keep the cover firmly closed.
Hunting for Materials
This was certainly not an easy task, as I wanted to keep the budget as low as possible. After all, overspending would defeat the purpose of creating a DIY folio instead of simply purchasing the official one with its high price tag.
After conducting thorough research, I finalized the materials and approach:
| Material | Description | Sourcing | Cost Estimate |
|---|---|---|---|
| Folio DIY Kit | A base kit for creating a custom folio, including essential components. | Sold by Supernote on their official website. | $19 / ~ £15.00 |
| Add-on Layer | Strengthens the base cover. Options include >1mm cardboard for reinforcement or entirely replacing the pad by 3D printing a custom one. | Cardboard from craft stores, or 3D printer materials if available. | almost free in my case |
| Inner Liner | A soft, thin material (max 1mm) to prevent scratches and ensure the wake/sleep functionality works correctly. | Felt, microfiber, or soft fabric from craft or fabric stores. | £1.30 for an A4 sheet |
| Outer Liner | A thin vinyl layer used as an exterior cover, allowing you to repurpose the base cover later (e.g., place it in a leather journal or fix it onto a notebook). | Vinyl sheets from craft stores or online retailers. | £4.99 for 10 A4, only need one |
| Outer Cover (Option 1) | A thin leather cover to enhance durability and aesthetics. | Leather sheets or pre-cut leather from leather supply shops or online. | £10-£30 |
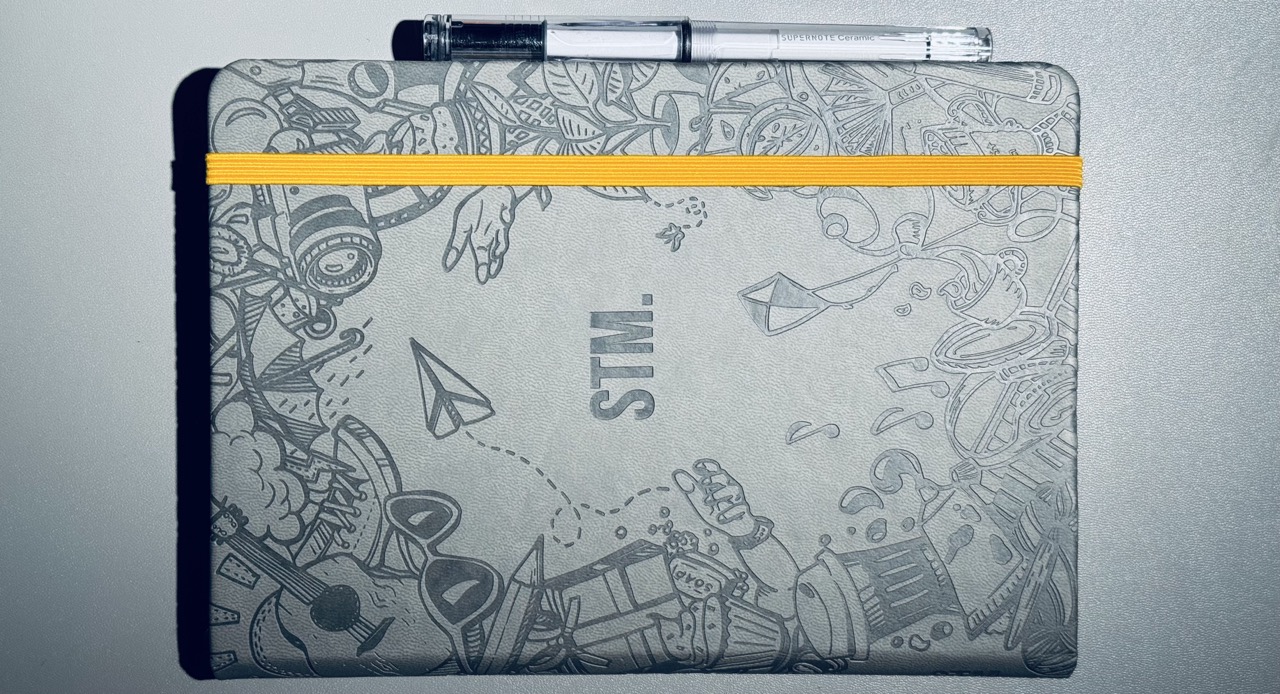
| Outer Cover (Option 2) | An A5 notebook cover to house the folio, repurposing an existing notebook. For example, I used a spare STM notebook, which worked perfectly. | Spare A5 notebook from personal supplies or purchased online/in stores. | £8 |
Cost Considerations & DIY Approach
Putting together a functional folio (in 2025) without an outer cover currently runs about £18 in materials, while opting for premium real leather pushes the cost beyond £50. A notebook cover offers a middle ground at roughly £26—affordable yet stylish. When you account for the time and effort of sourcing materials, Supernote’s official folio pricing seems fairly reasonable by comparison.
That said, half the appeal of a DIY project is customization and personal touch. In this guide, I’ll walk through both approaches—basic and notebook-style—complete with finished photos so you can see the results before deciding which version suits your needs best.
Let’s Start Crafting
I highly recommand you take a look the offical guide as it provides some basic ideas on how you are going to personalize the project.
Step 1: Strengthen the Folio Cover
This step may be optional depending on your needs.
When I first opened the DIY kit, I was surprised by how thin and flexible the cover material was—far more than I had anticipated. To give it extra rigidity, I experimented with a few reinforcement methods and narrowed it down to two practical solutions:
- Cardboard Insert – A quick, low-cost fix using materials you likely already have at home.
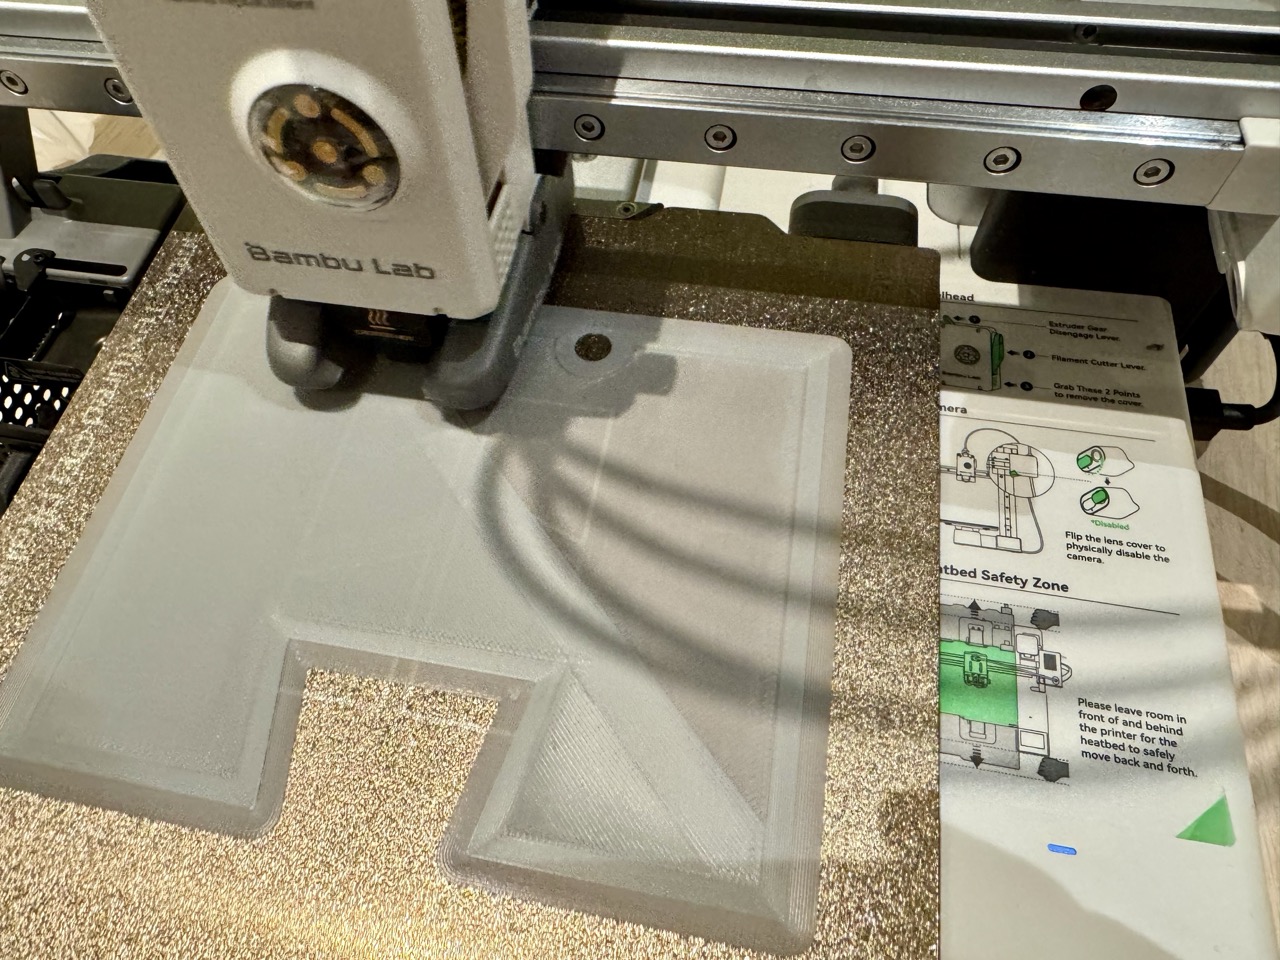
- 3D-Printed Backing (~1mm thick) – A sturdier, more precise option if you have access to a 3D printer.
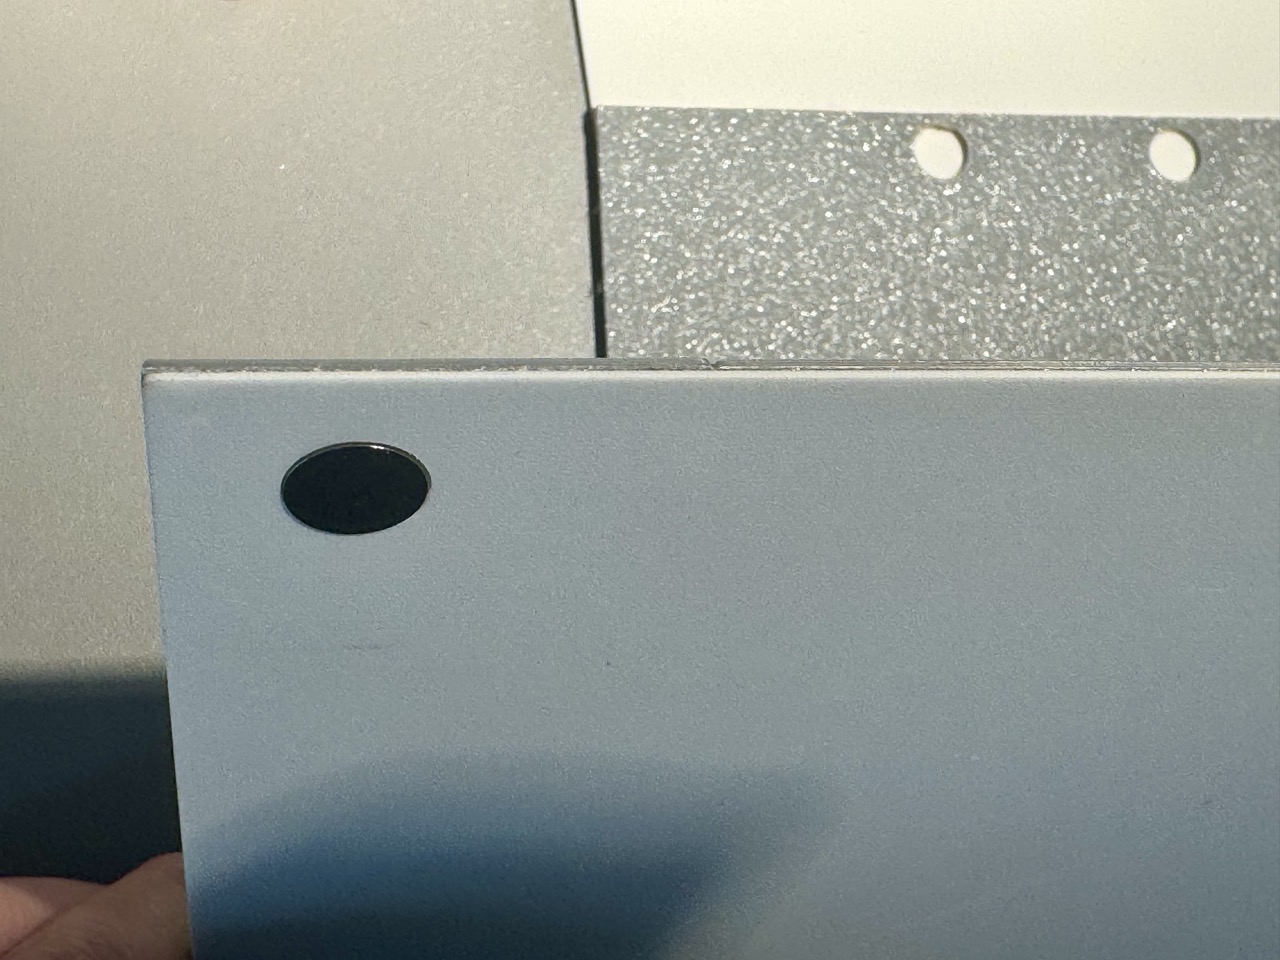
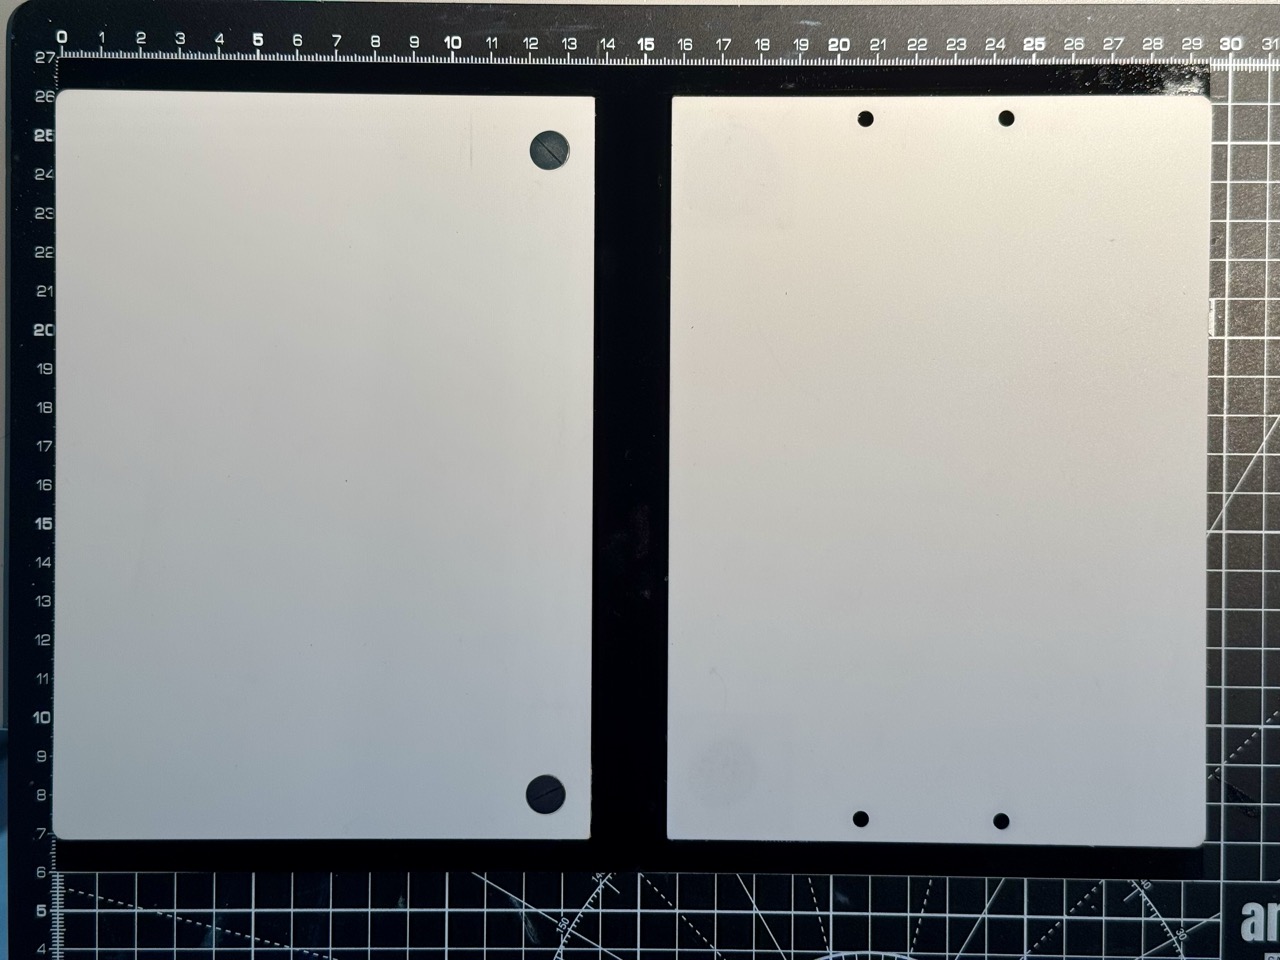
Since I didn’t want to make a trip to the store, 3D printing was the more convenient choice for me. However, my printer’s small build volume (180mm × 180mm max) meant I had to:
- Split the model into two smaller sections to fit the print bed.
- Seamlessly join them with glue after printing for a clean, unified finish.

If your printer has a larger build area, this process will be much simpler! Otherwise, cardboard, acrylic sheets, or other stiff, easy-to-cut materials can work just as well.
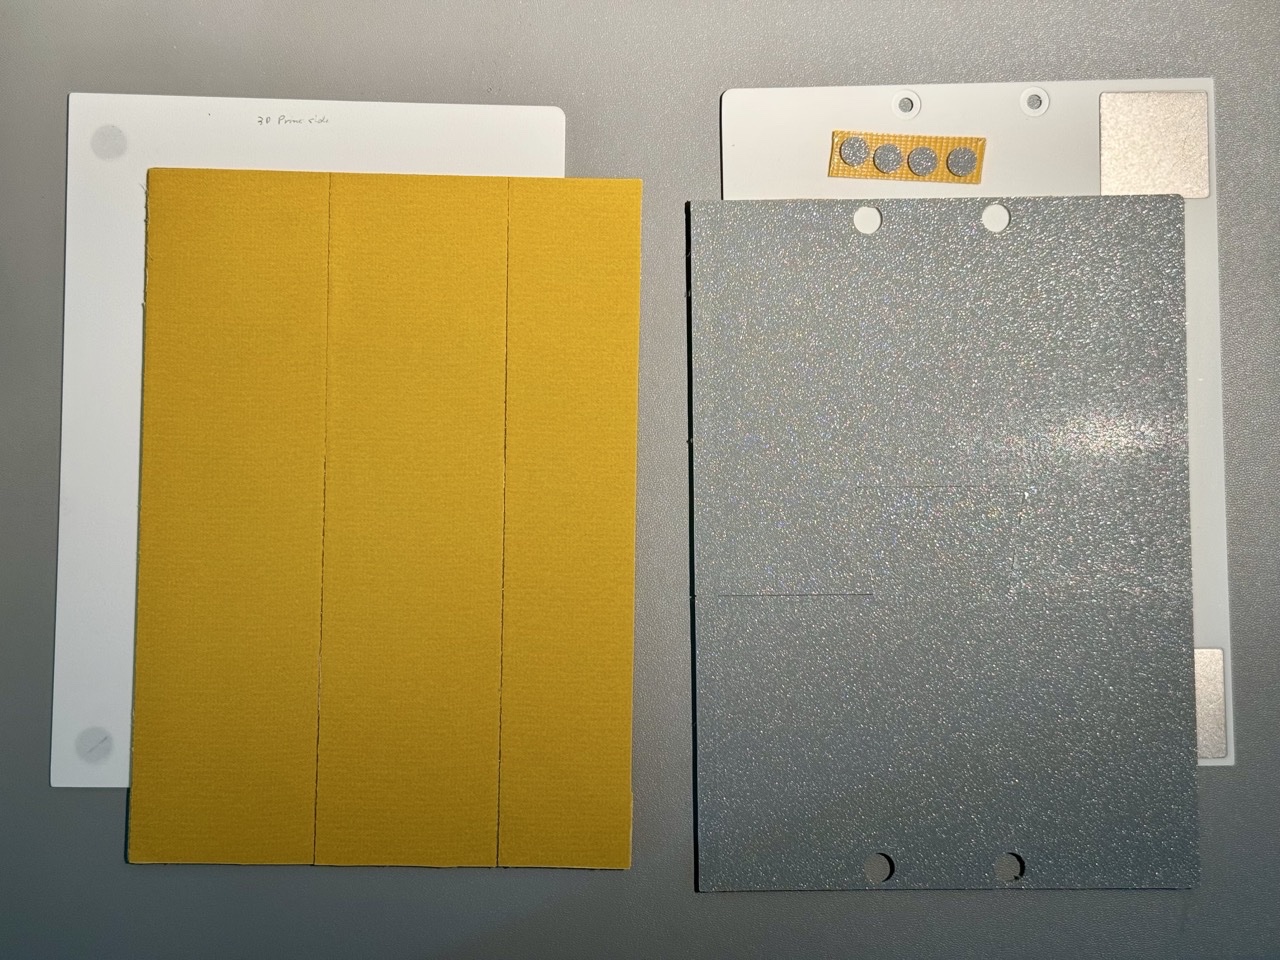
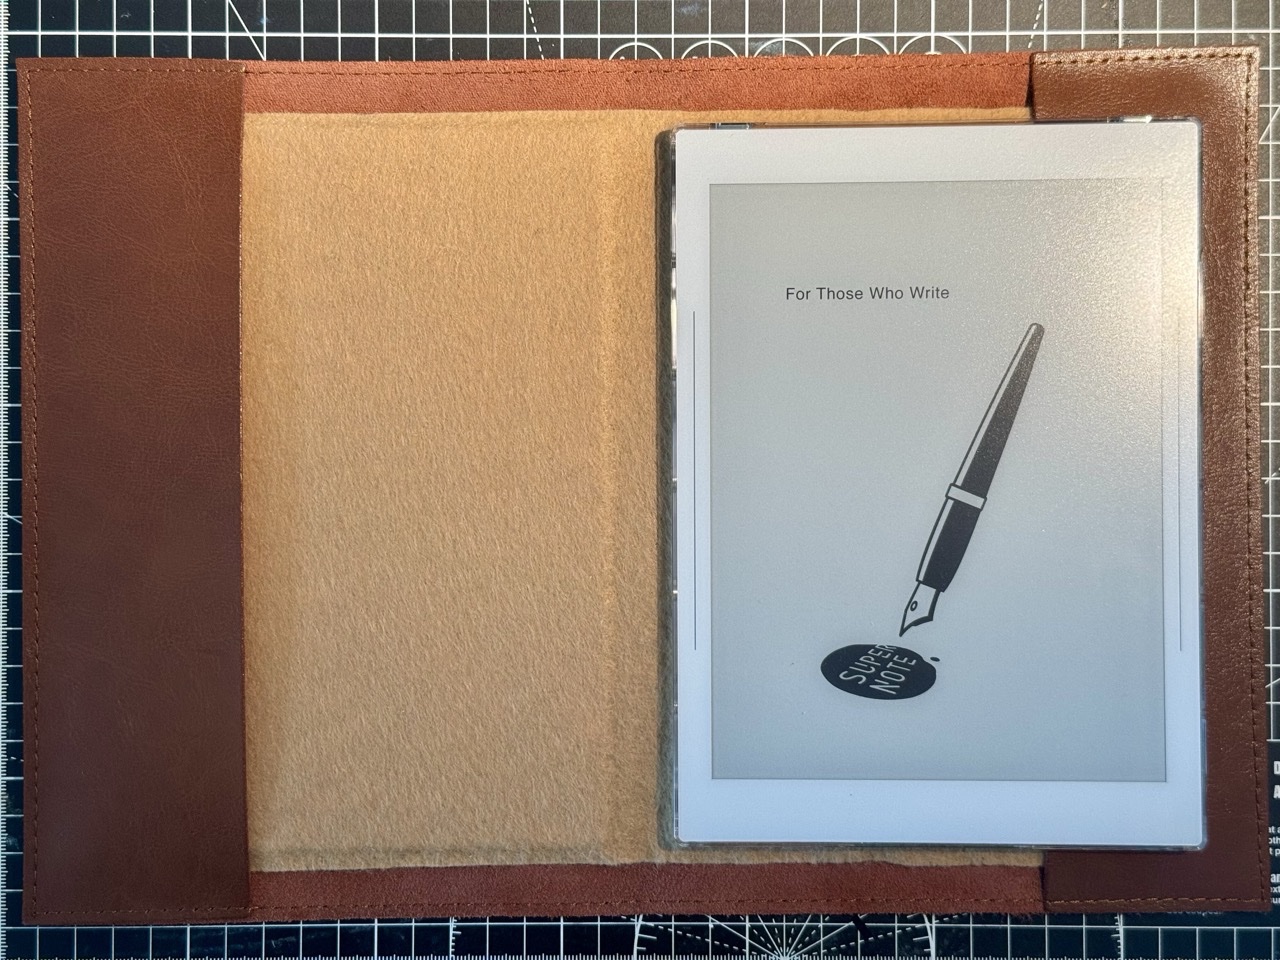
Here’s how the folio plate looks after reinforcing both the front and back inner layer.
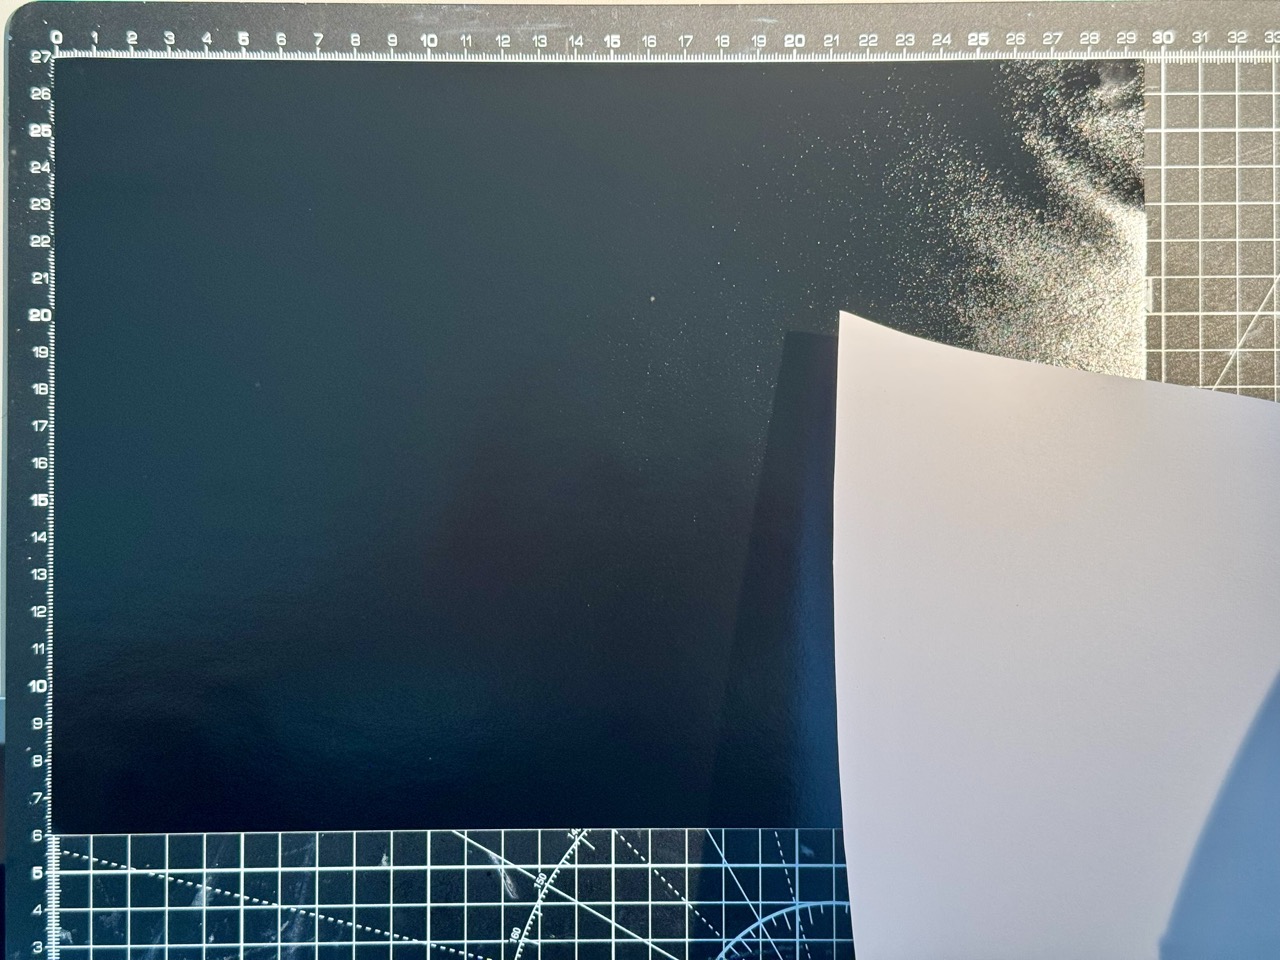
Step 2: Working with Outter Liner
If you’re using a pre-made notebook cover, you can skip the outer liner entirely - just use the notebook’s own cover as your outer layer. I chose a vinyl outer cover specifically to maintain flexibility - this lets me easily swap decorative covers later without modifying the core structure.
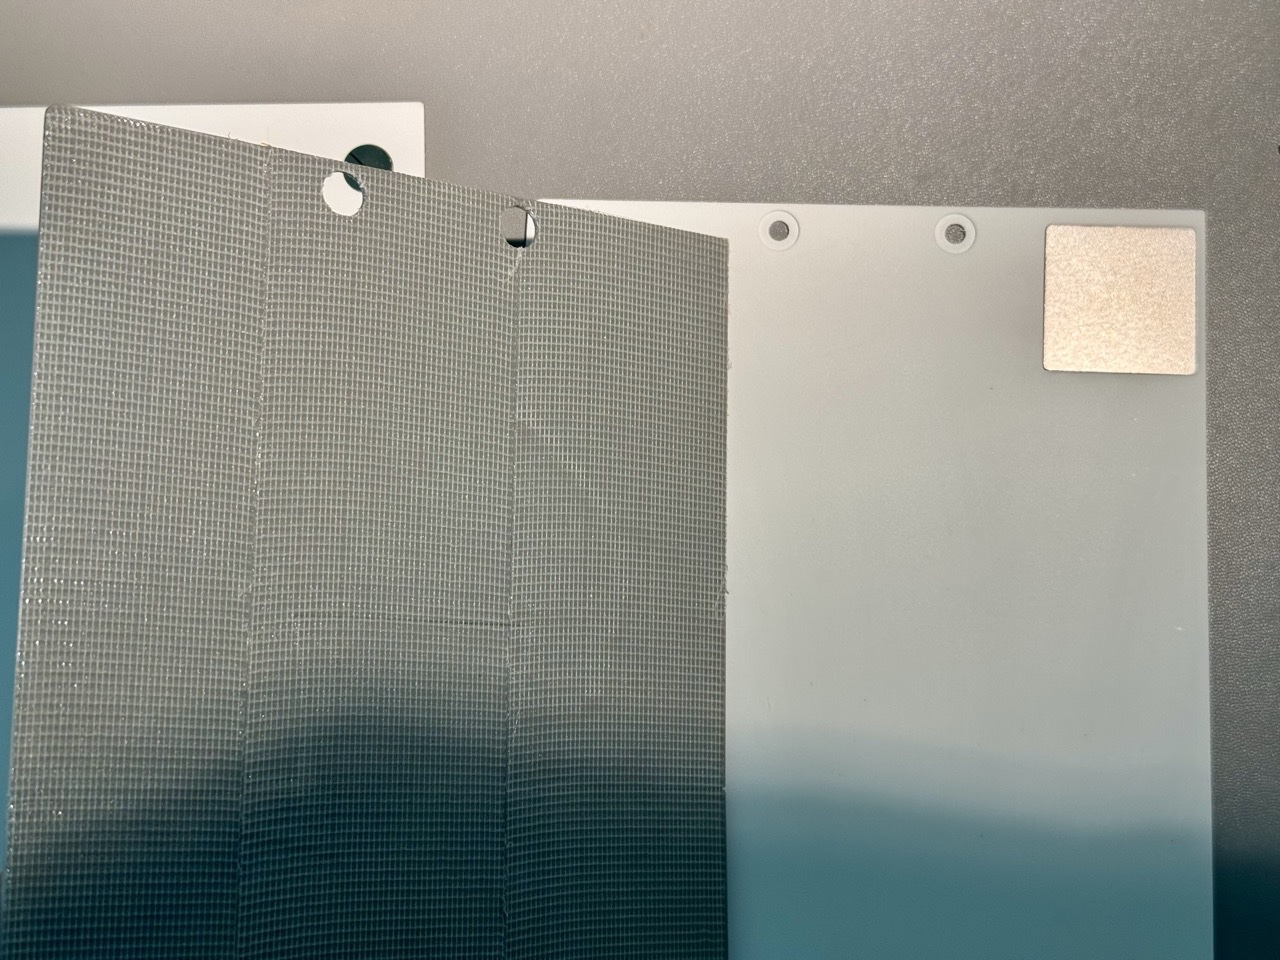
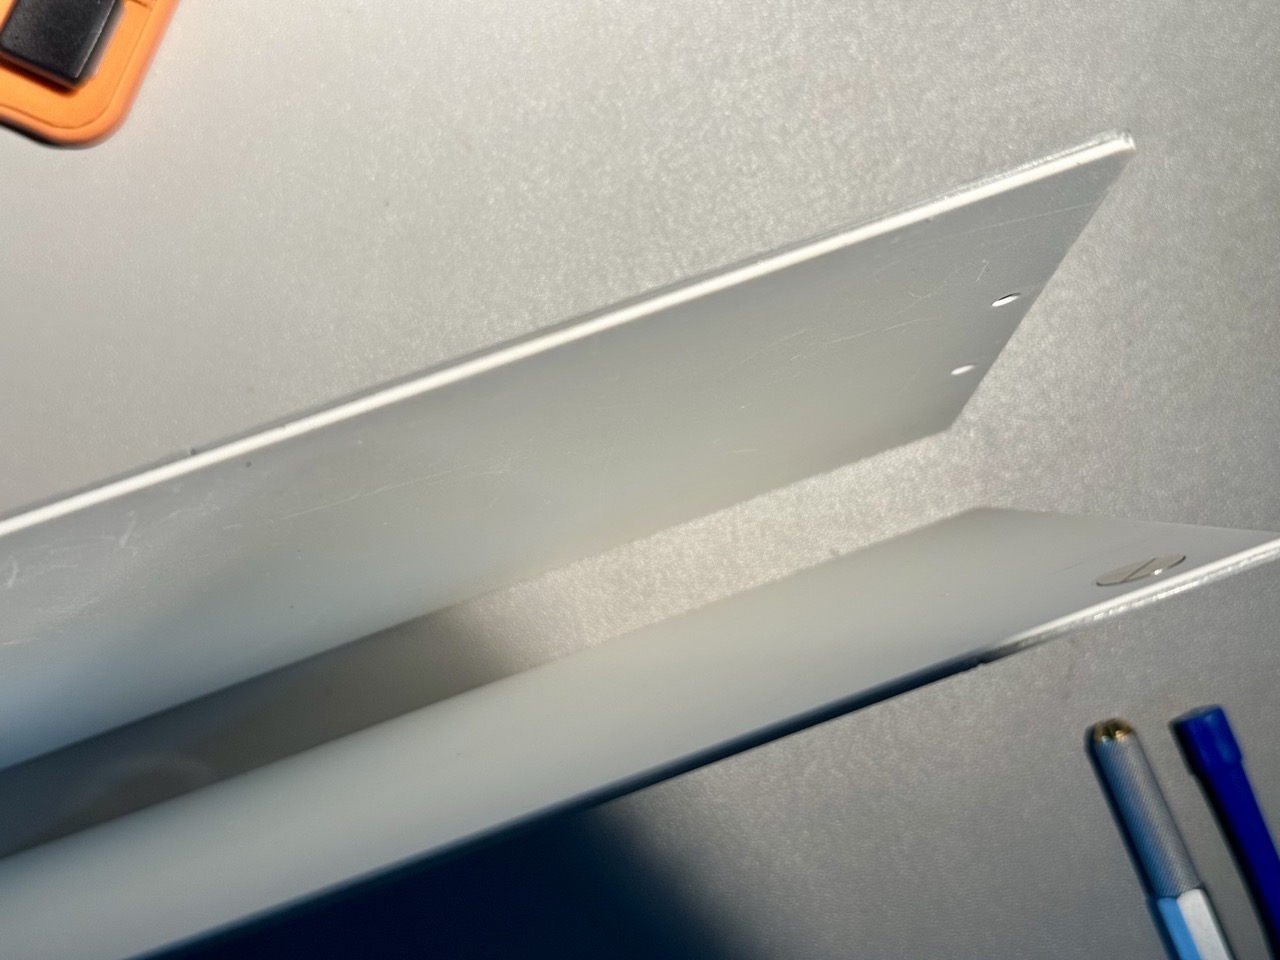
Before securing the outer layer sheet, make sure it’s lightly attached to your work surface. This allows for adjustments during alignment. For precise placement:
- Measure the gap between the front and back covers—aim for ~19–20mm.
- I intentionally increased this spacing slightly to accommodate different outer covers of varying thicknesses in the future.
This extra flexibility lets you swap decorative covers later without modifying the core structure.
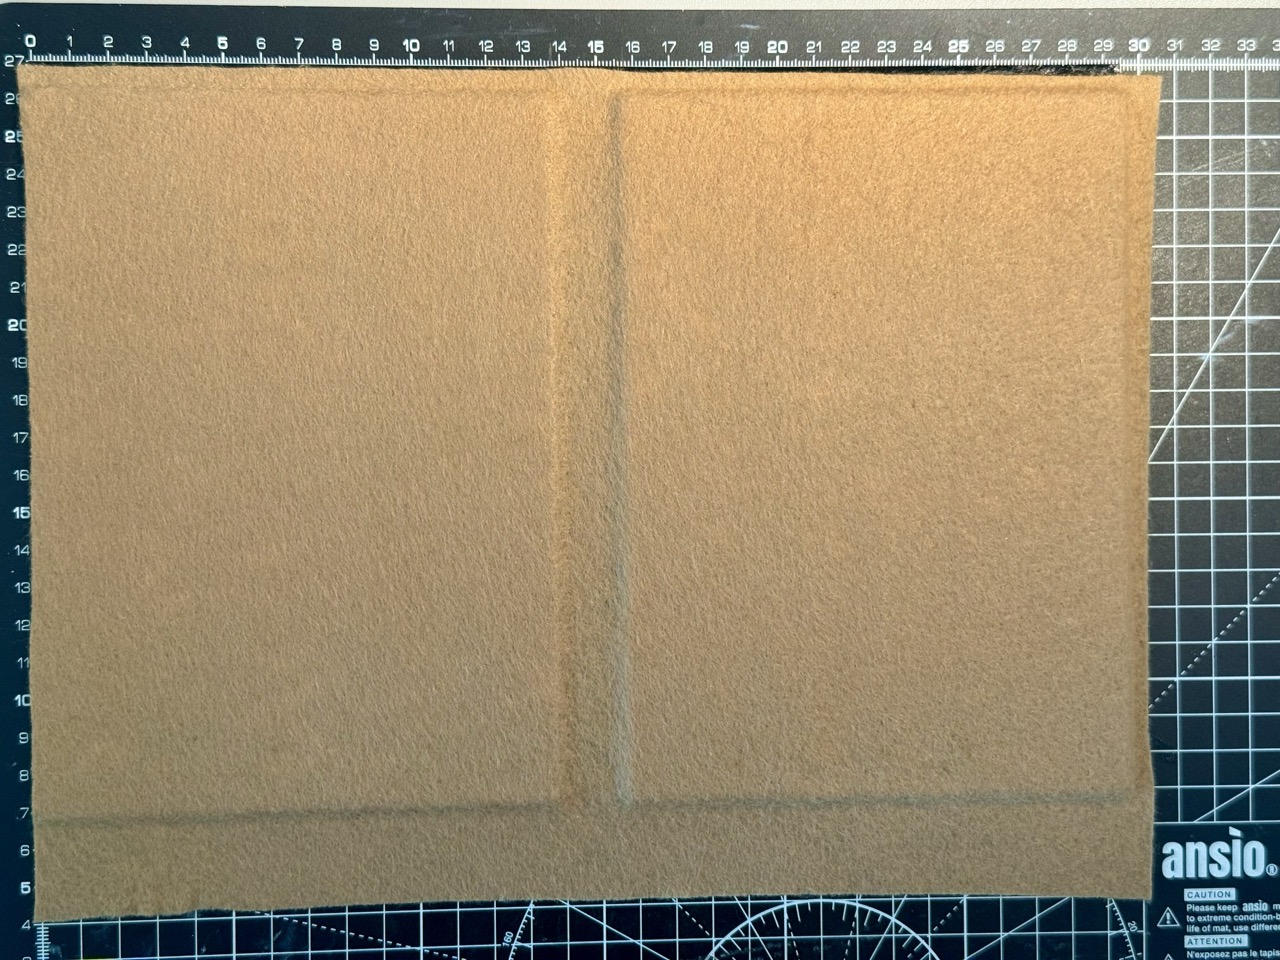
Step 3: Working with Inner Liner
Once both plates are securely positioned, installing the inner liner is straightforward. The key is selecting an appropriate material – opt for something soft and thin (about 1mm thick) to serve two critical purposes. First, this protective layer prevents scratches on your device’s surface. Second, the minimal thickness ensures it won’t interfere with the magnetic sensor that controls your device’s sleep/wake function when opening or closing the cover.
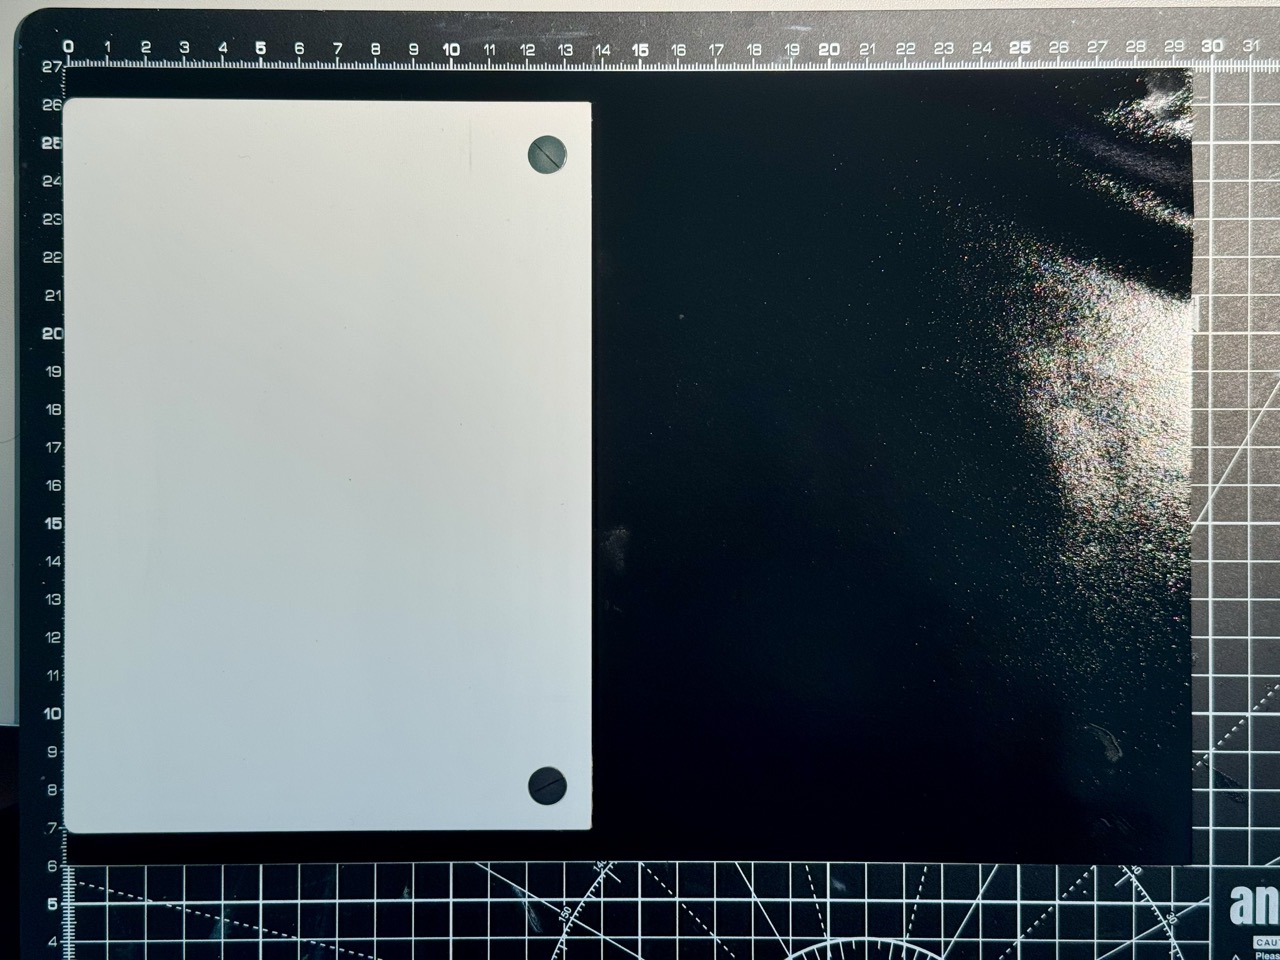
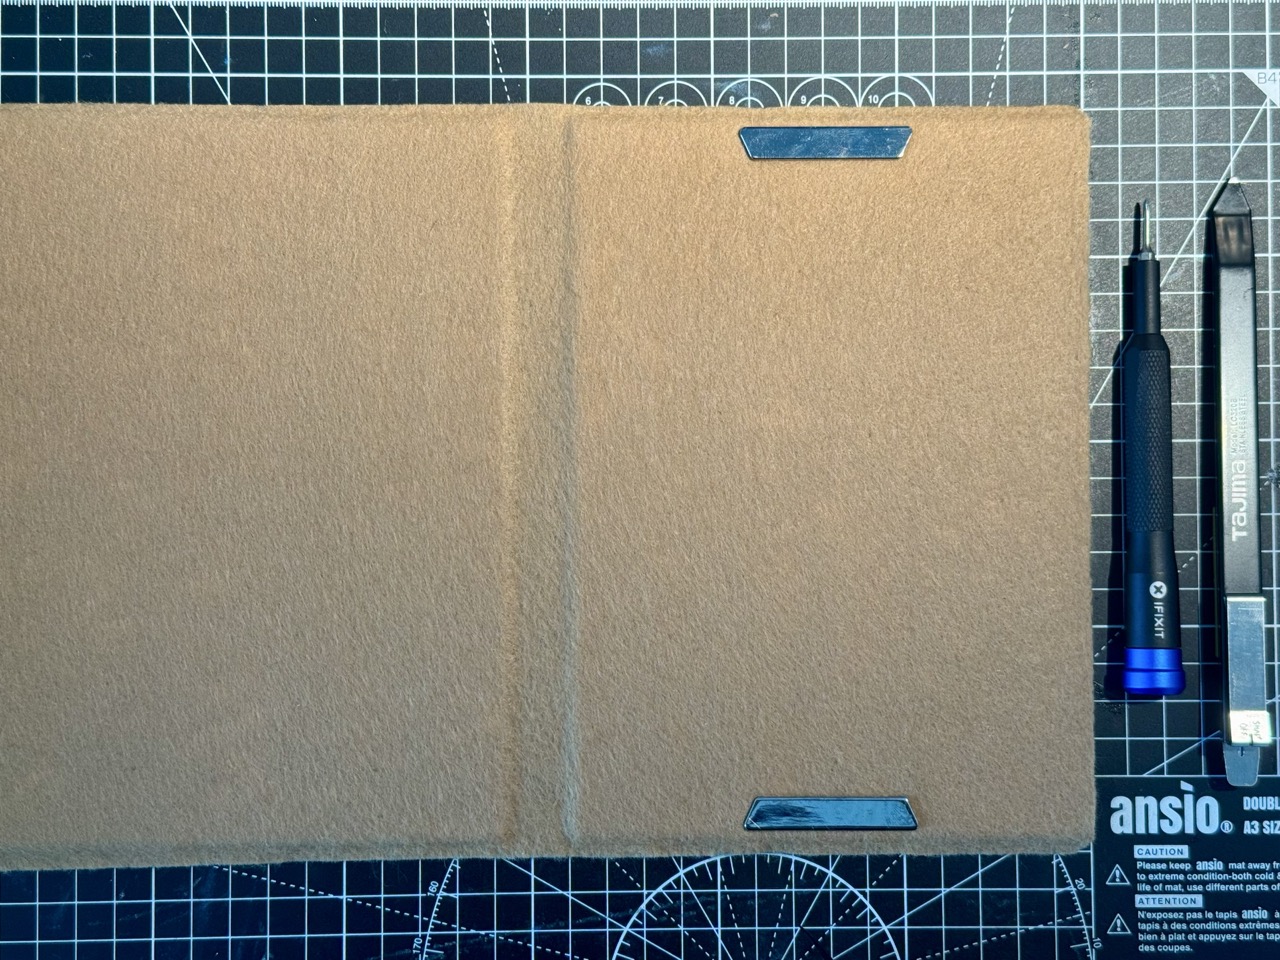
Step 4: Assembley and Testing
With the structure complete, it’s time for finishing touches. Carefully trim any excess material around the folio’s edges, then install the magnet on the backplate. The crucial moment comes when you power on the device - test repeatedly to ensure the wake/sleep functions trigger perfectly with each open and close.
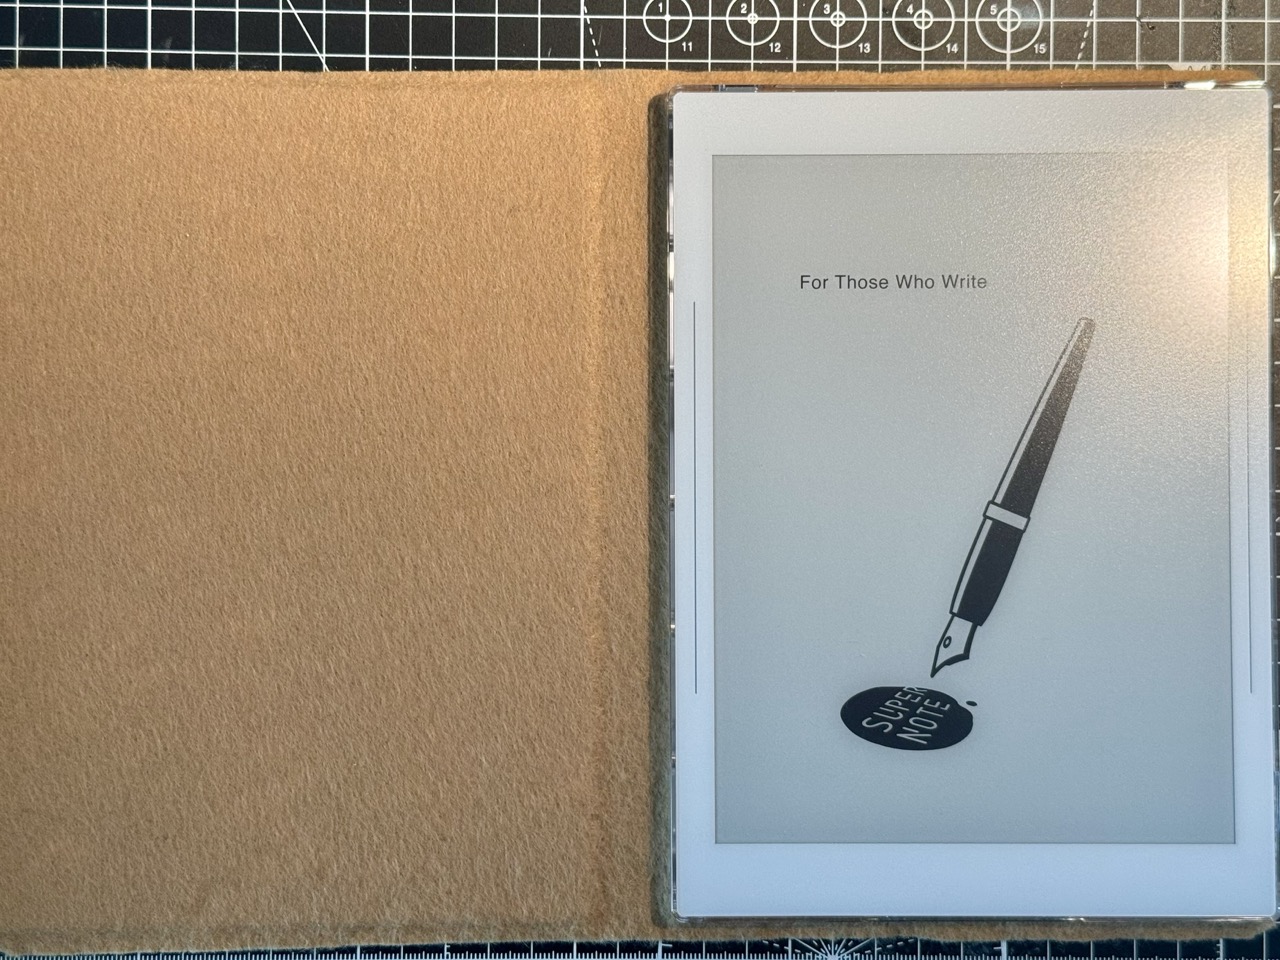
Congratulations! You now have a fully functional folio case that… well, let’s be honest, it probably looks like something a kindergartener made in arts and crafts class. But hey, it works! (We’ll make it pretty in the next steps.)
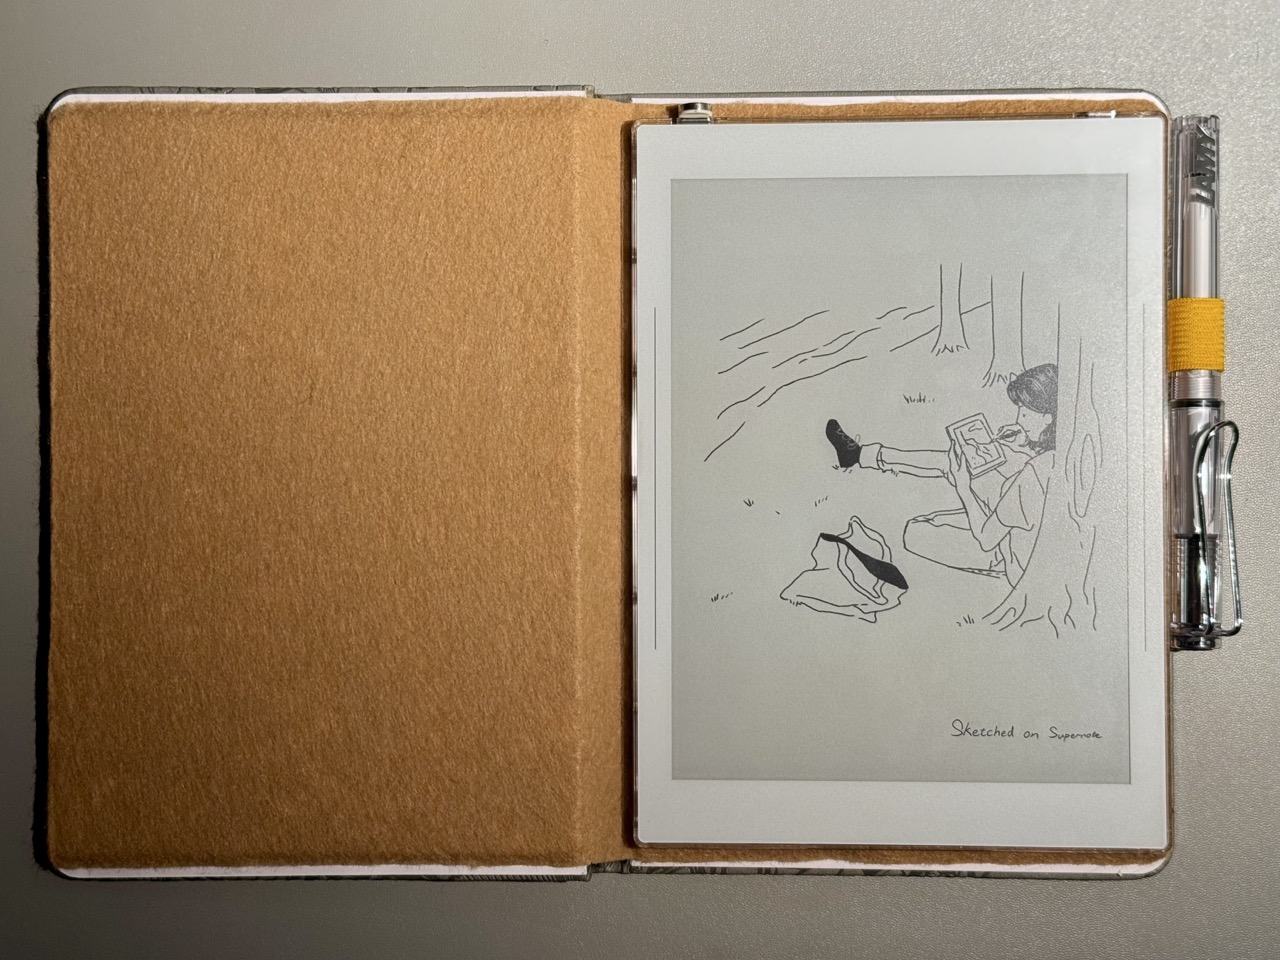
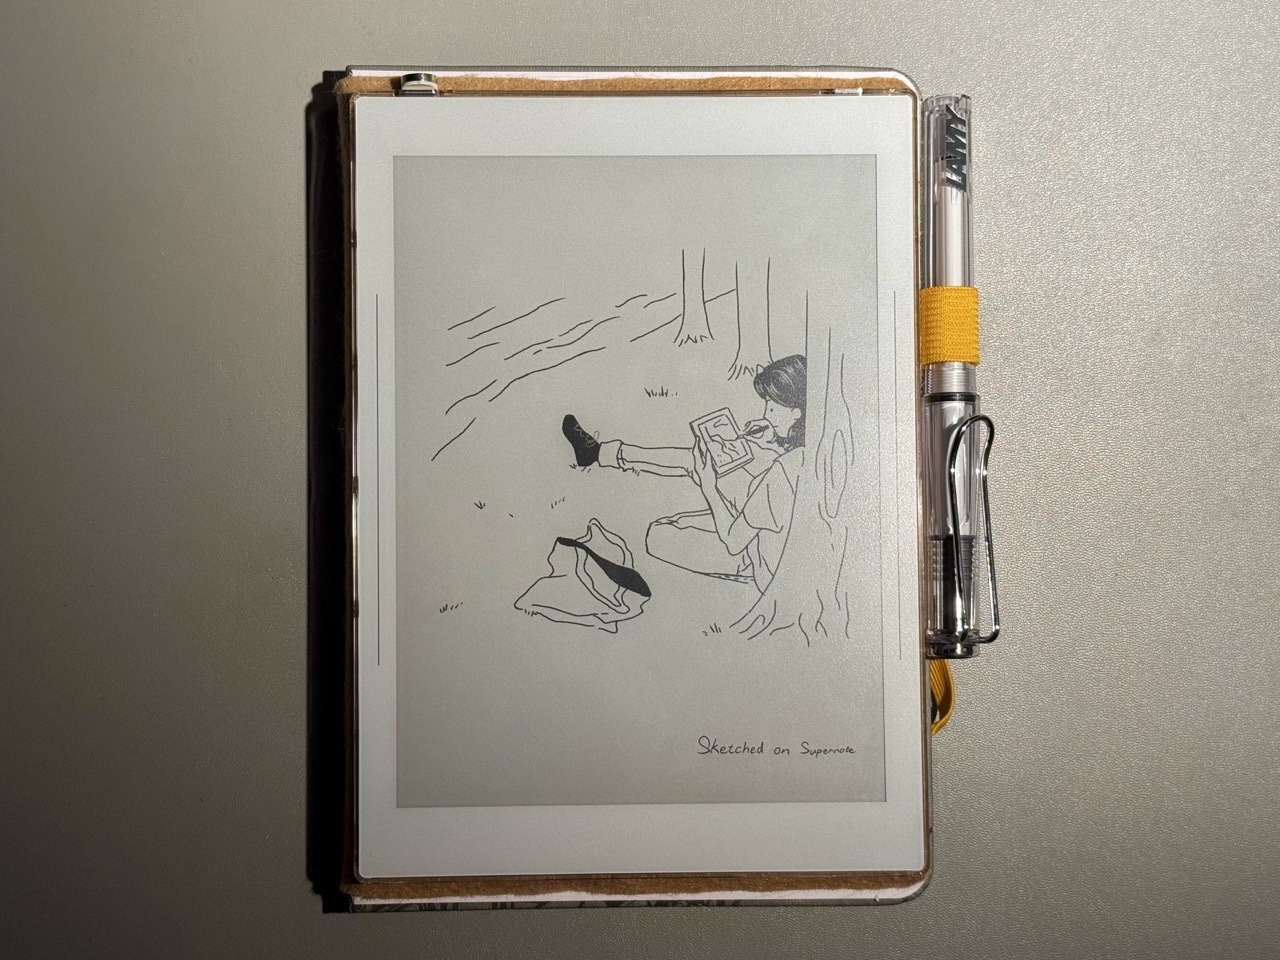
Decorative Option 1: with Leather Journal Cover
I happened to have an A5-sized refillable leather journal on hand—like most A5 leather covers, it’s fairly roomy. As you can see in the photo below, there’s plenty of space to attach an additional pen loop on either the right side or top of the journal.


This setup not only maximizes functionality but also gives your Supernote a sleek, classic look—perfect for professional settings or everyday carry.
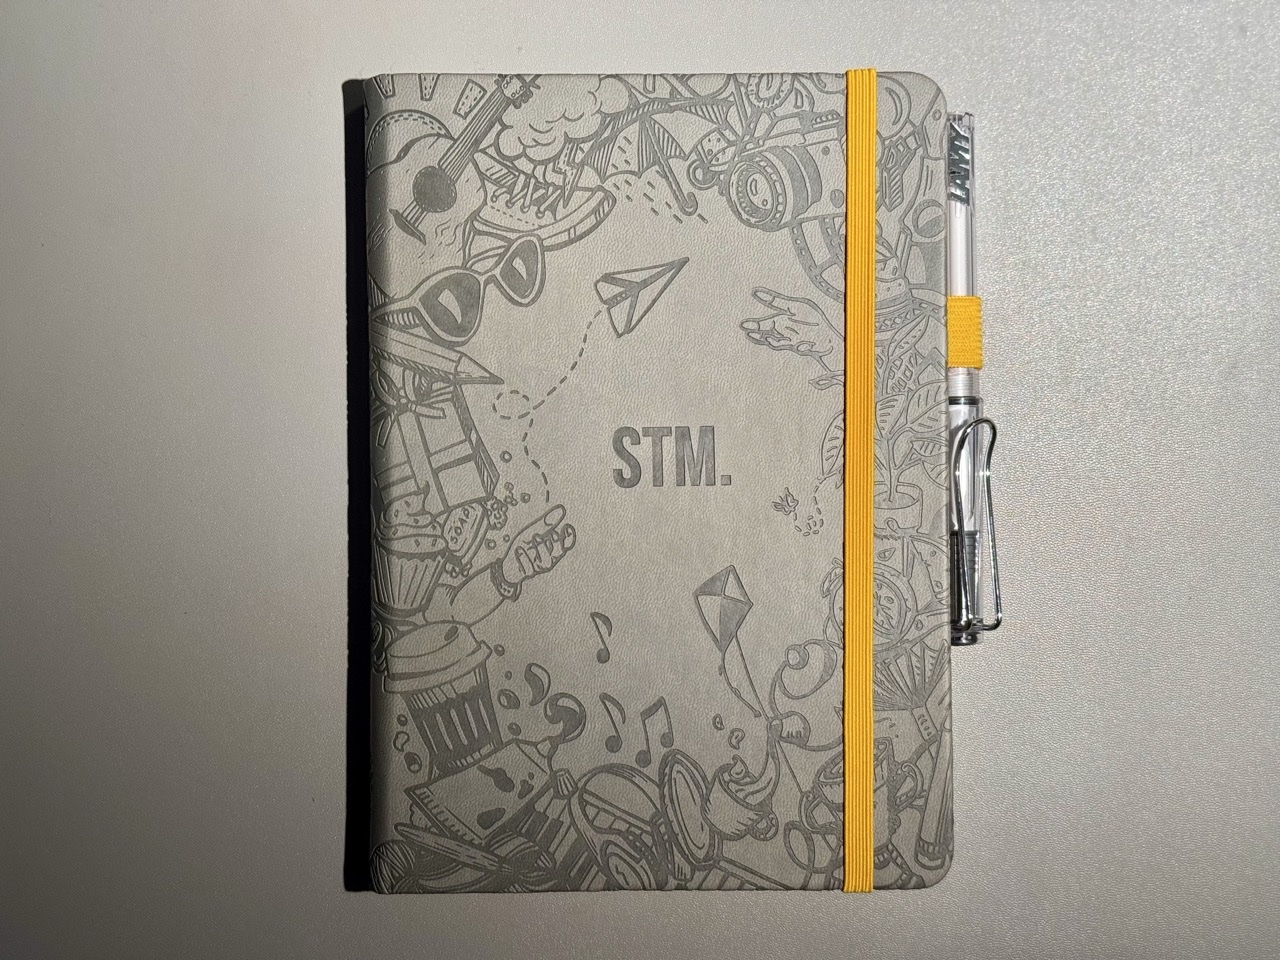
Decorative Option 2: Result: with A5 Notebook
If you prefer a more personalized look, repurpose an existing A5 notebook cover—genuine leather, vegan leather, or any sturdy material will work. Start by carefully removing all the inner pages, leaving just the empty cover intact. Then, use strong double-sided tape to securely attach your completed folio (from Step 4) inside, ensuring proper alignment along the spine for a clean fit.
I personally used an STM notebook cover (160gsm, 150 pages) because it includes handy features like a built-in pen loop, an elastic closure band, and a professional yet subtle design. If your chosen cover lacks these extras, you can always add a pen loop separately—just follow the same method from earlier. This approach keeps your Supernote protected while giving it a refined, notebook-like aesthetic.
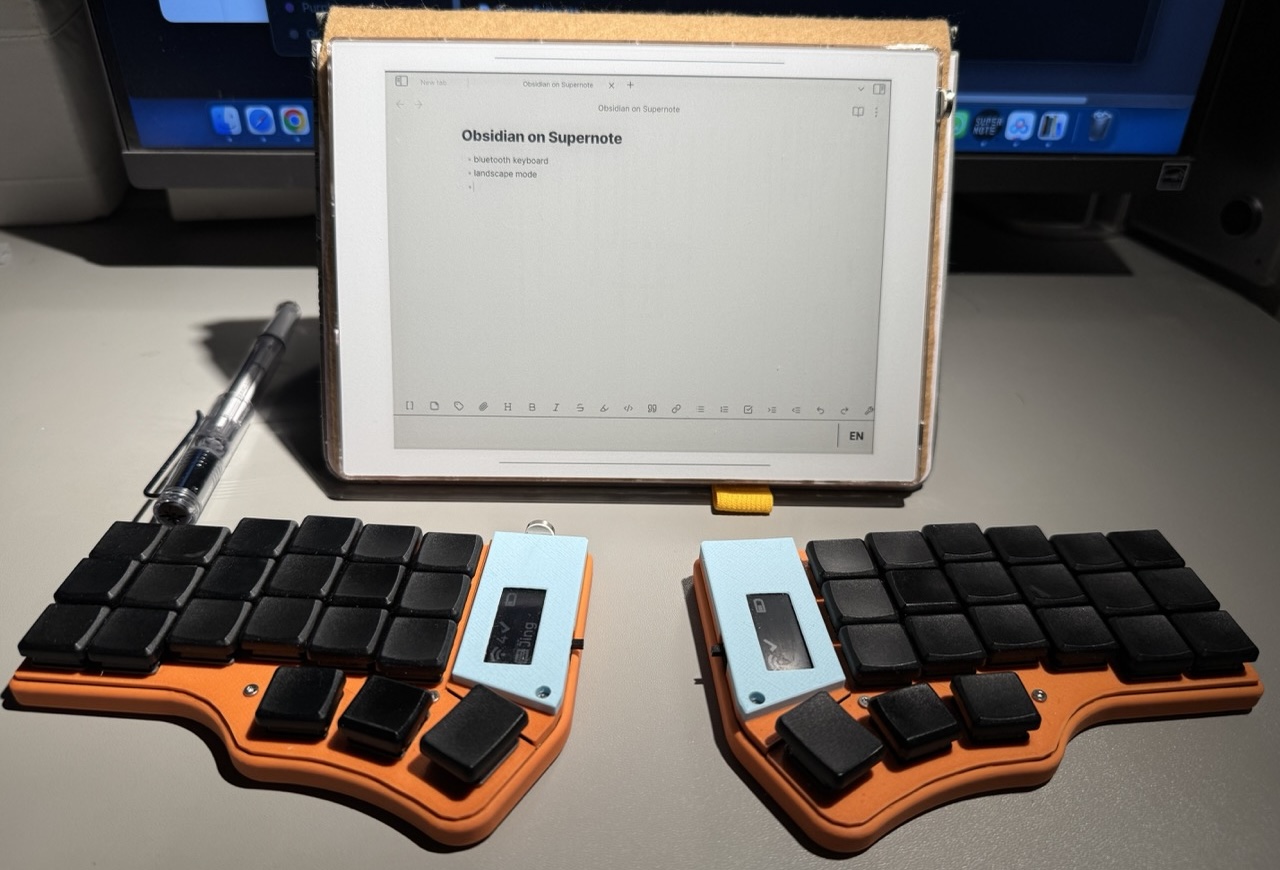
Bonus Setup Idea: For an even more versatile workspace, try using your Supernote in landscape mode. This orientation pairs perfectly with sideloaded Obsidian, creating a distraction-free note-taking system that balances focus and flexibility. Now you’ve transformed your folio into something greater - part digital notebook, part productivity command center.
I’ll be exploring more ways to boost productivity with Supernote in the coming months—from workflow optimizations to creative uses of its e-ink capabilities. Drop me a message—I’d love to hear your thoughts! Stay tuned, and happy crafting!